Skyler E.

But first, I have a confession to make. I’m am slightly disappointed with this restyle. Not the idea of the revamp, not at all. But in my execution of it. I had an idea and it just didn’t play out how I wanted. After I painted it, I realized how I SHOULD have done it and I was so mad! I wish I could rewind. But I really didn’t want to scrap it, because the idea behind it is really great and there are so many possibilities to go with. Plus maybe this can be a learning experience not only for me, but for you as well dear reader. Don’t rush in too hastily, even if you are really excited.
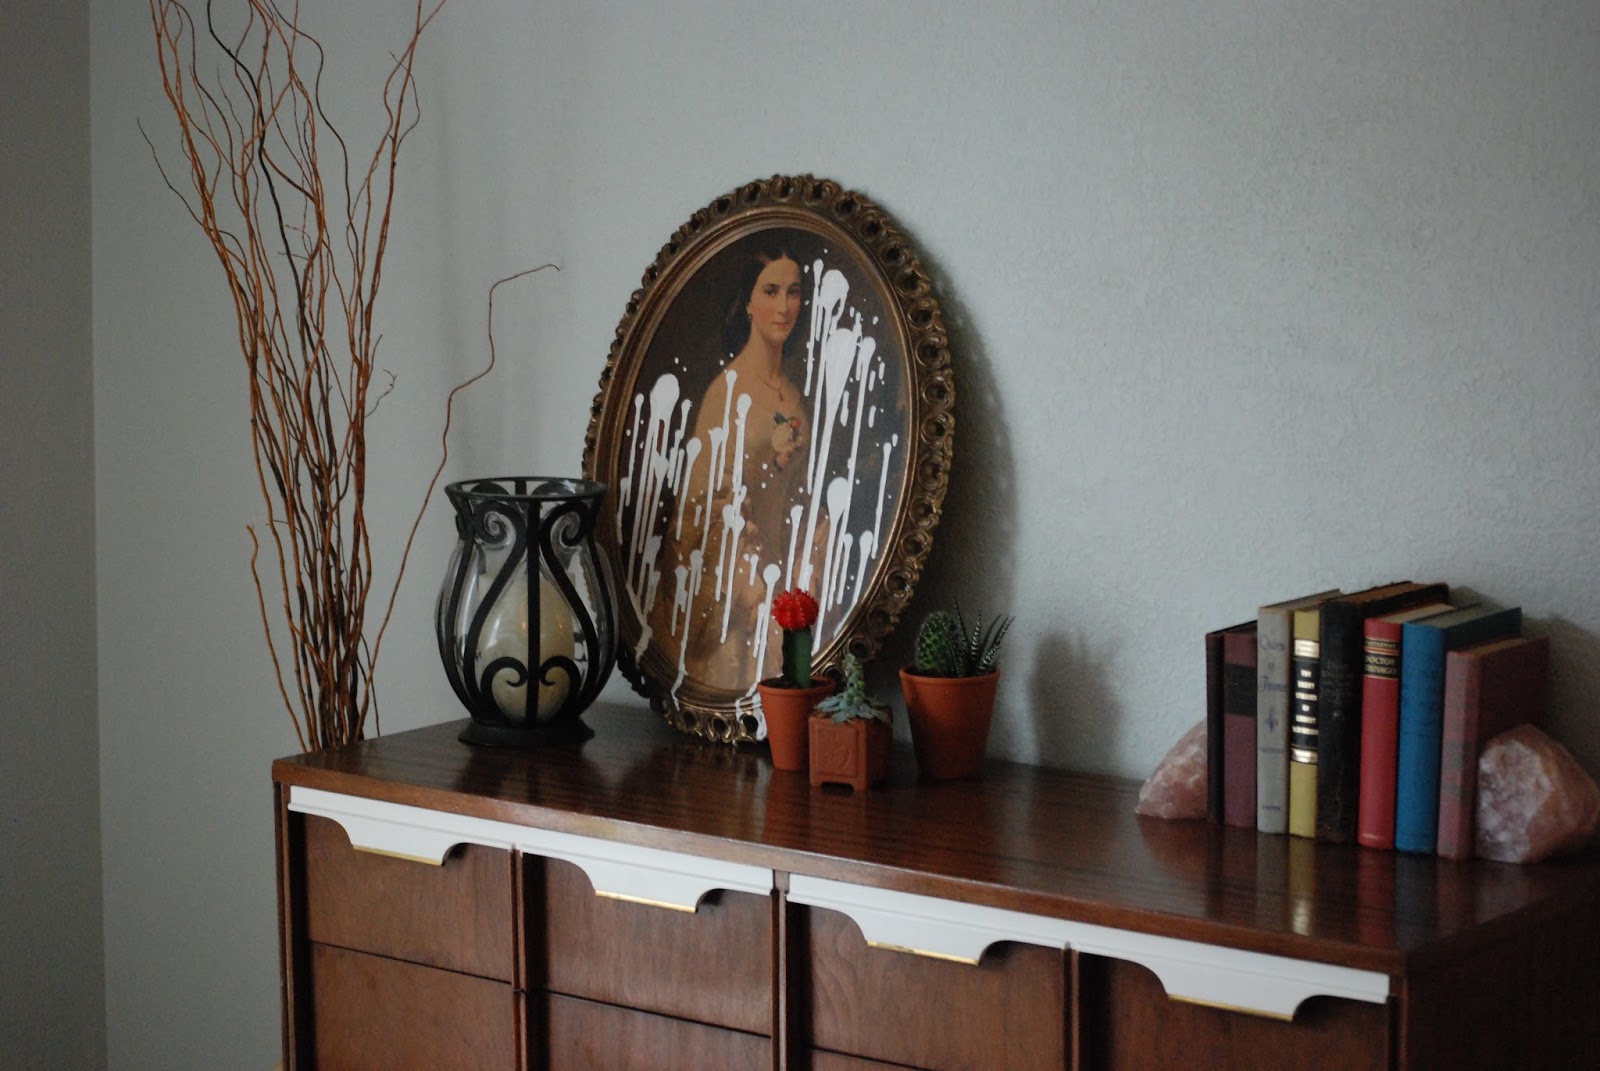
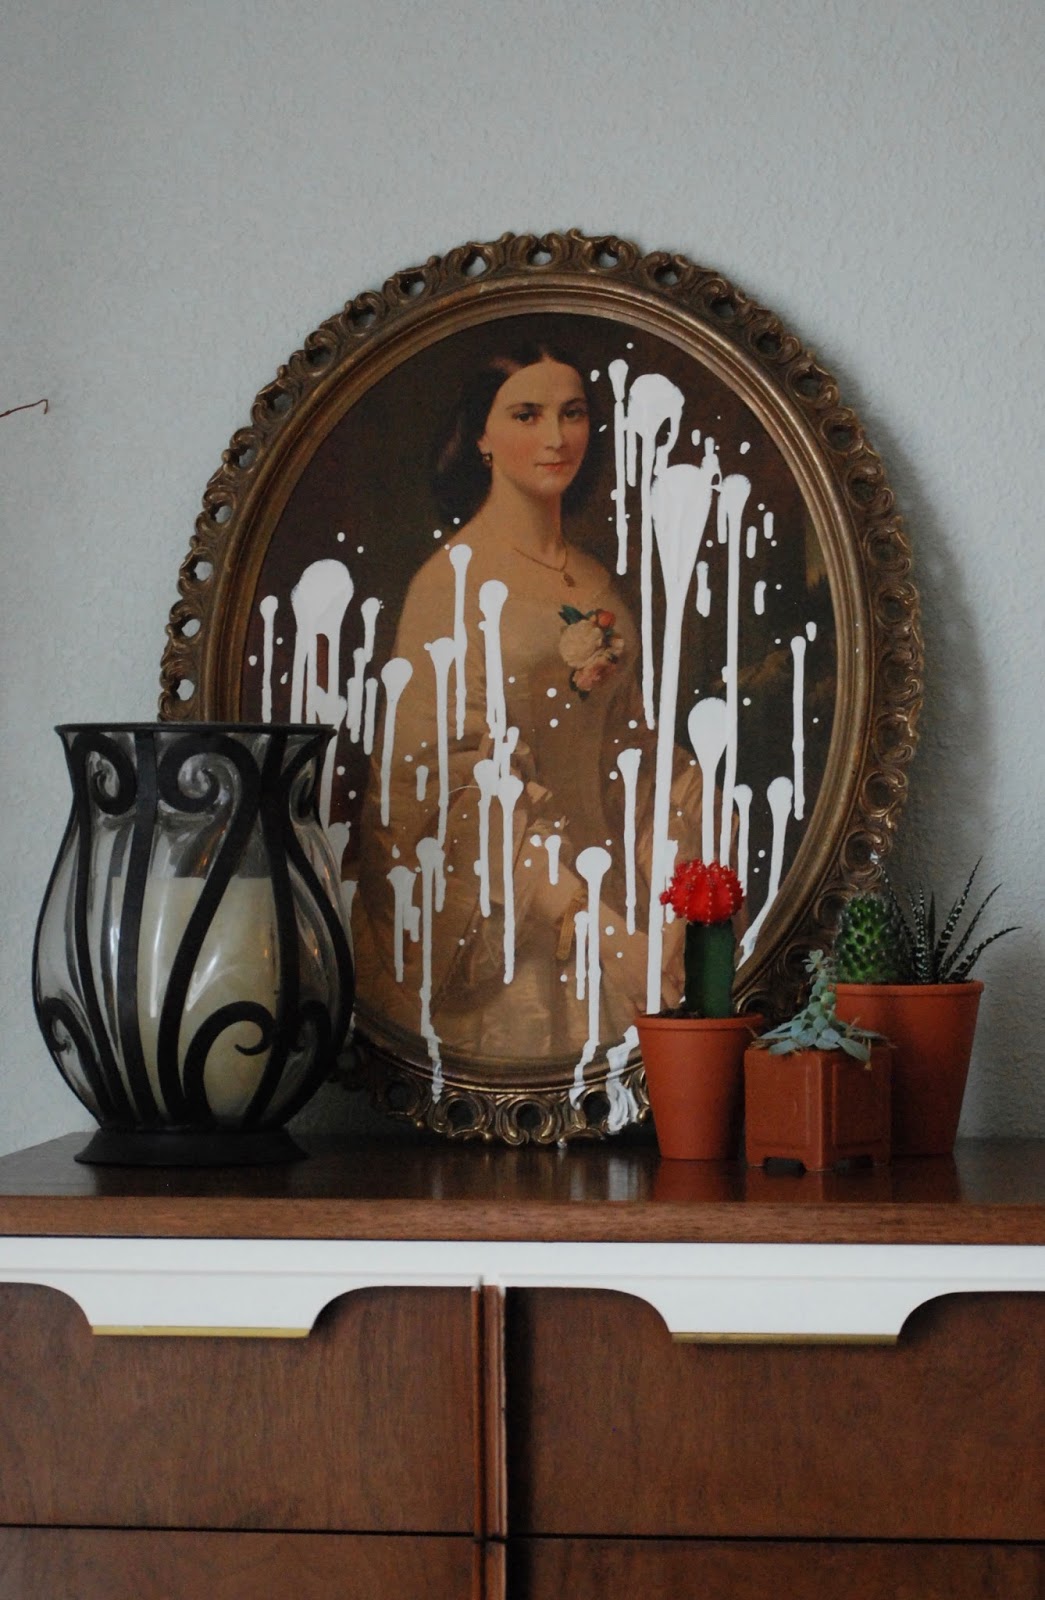
So much to my shame, here it is. I’m thinking about maybe doing something else to it later, like painting the frame. But for now, this is what it is. Largely because I will be moving soon and I have little use for hanging art, most of which I’ve already packed away. Hopefully when life settles down, I can give it the attention it deserves. Or try again and show you a much more successful restyle.
Welp.

Begin with a piece of old art. Don’t have any? Peruse through your local Goodwill, Value Village/Savers, thrift store or garage sale and find something interesting. Maybe it’s an old portrait or a idyllic landscape. Or maybe whatever it is, it’s in a really awesome frame. Buy that baby up and let’s get crackin’.
Personally, this painting was a piece I owned and used to like when I was into shabby chic decor for a hot minute. I still like slightly feminine things, but with a more modern vibe. So this looked a tiny bit too cute with my current decor. I also really liked the idea of a splash har har har of clean white, so I wanted to include that as well.
Think about what kind of art piece you need in your space and then work from there. Do you want a pop of color or metallic? A unique pattern or design? Something with some text over it, maybe a quote you really enjoy? Take inspiration from art prints you see online. What details do you like about them... can you incorporate some of those into this revamp?
Also don't forget that you aren't just stuck with hanging art. You can also restyle old vases by giving them a fresh coat of paint or a colorful pattern, decorative bowls, lamps, or even those weird statues of kittens you see laying around Goodwill (Please tell you you've seen those too). Just go into it with an open mind and you could discover something totally awesome!
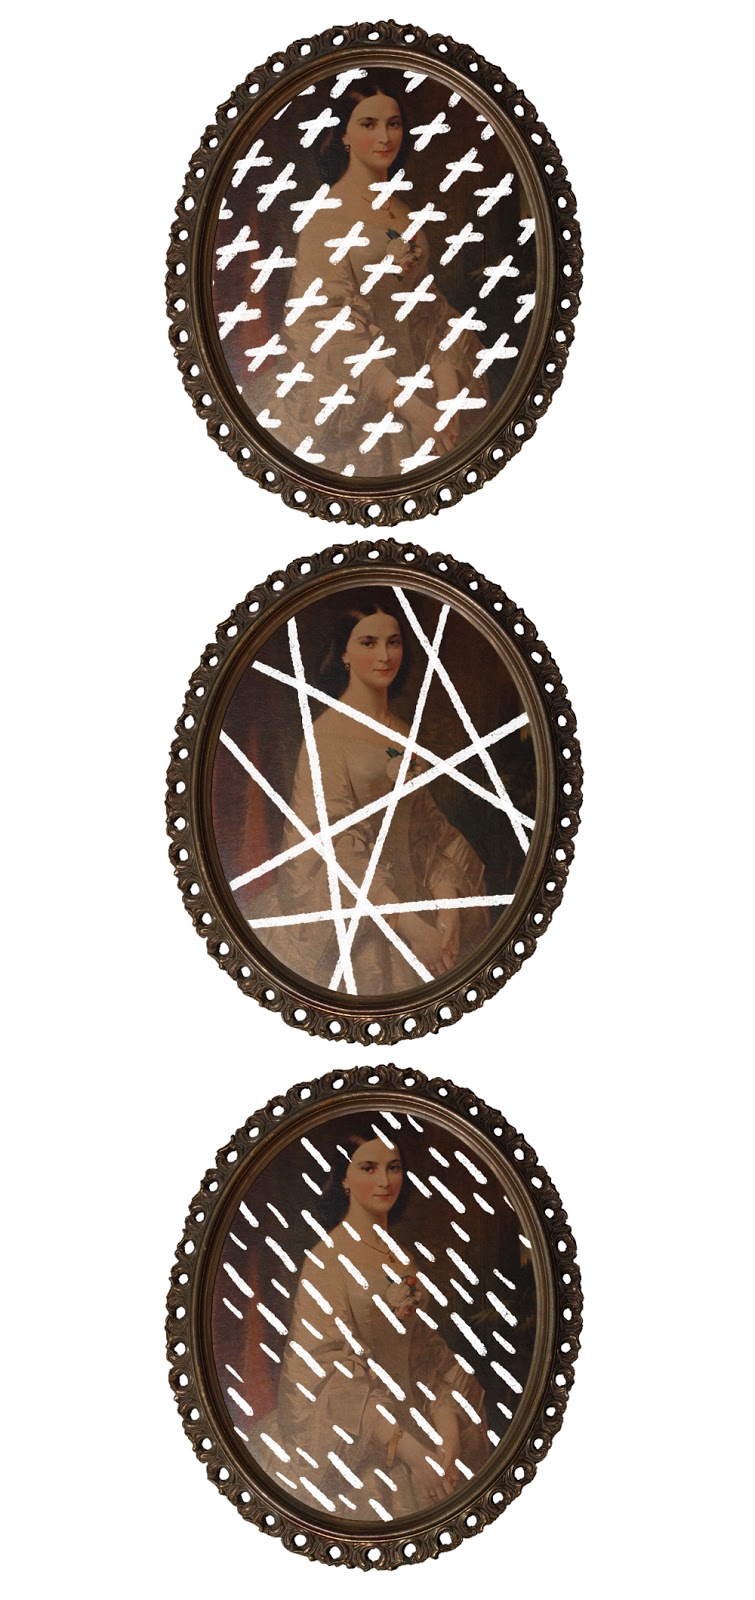
Before I began, I played around in photoshop with some ideas I had for my piece. Of course, I didn’t go with any of them because I’m an idiot and I decided to run on a whim and now I’m sad. Learn from me my friends. But this is a good way to play around with different options and to get your creative juices flowing. If you can't or don't use photoshop, even just making a few sketches on paper is helpful. You don't need to be a great artist, this is just a way to get you started.


I had a few paint options but ended up going with a high gloss enamel paint. Mostly because it had the right consistency and gave me the drip I was looking for. I highly suggest taking swatches of your materials, whatever they may be, before you do anything permanent to your revamp. You might find that another material would serve you better than the one you picked originally.

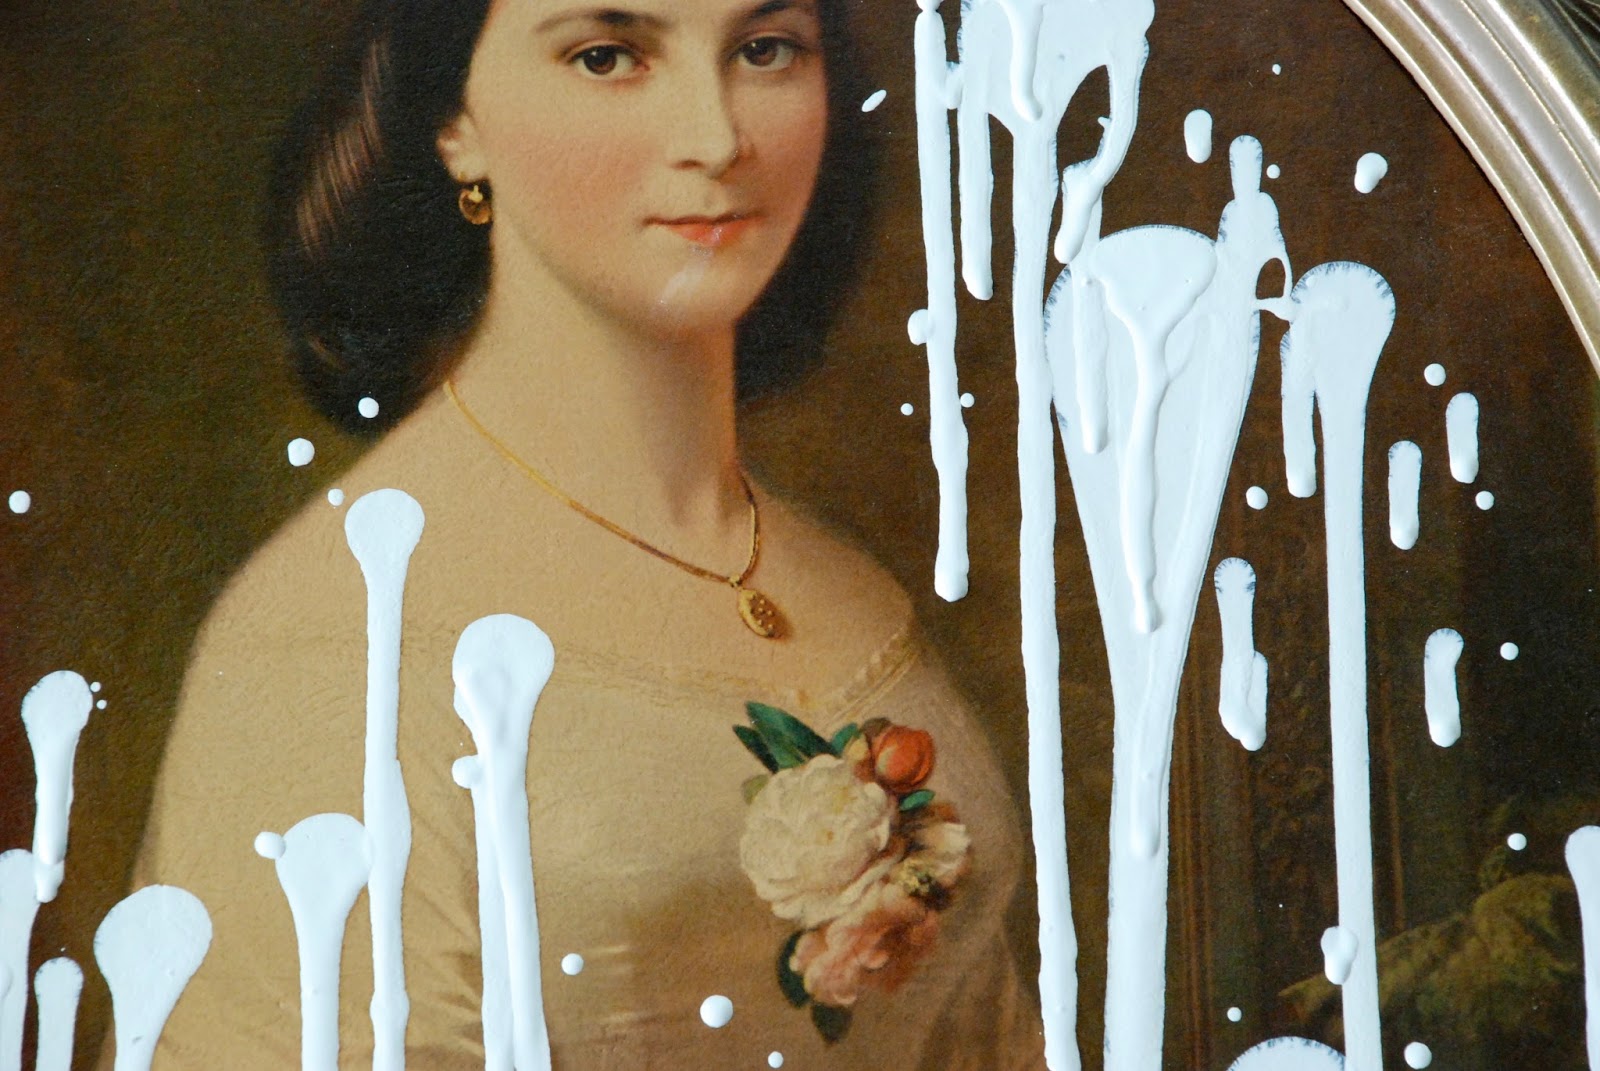
Then I got to work. I had the idea of splattered dripping paint, because I wanted to have a juxtaposition between the soft femininity of the woman and the rough edge of messy paint. I worked very slowly, building the drops with my applicator (a little plastic palette mixer) and moving the angle of the painting from flat on the ground, to upright, so that I could control how my paint dripped. I also kept a piece of cardboard underneath to catch all the excess, and a damp rag next to me to wipe away anything I didn’t want or paint off the floor.
Once I was done, I let it dry upright overnight in my garage and it was finished yay.
After I did this, I found a number of other fantastic inspirational ideas here and here. I originally had my heart set on dipping the whole thing, frame and all, halfway in paint. (It's so chic and clean) But I was unable to do so for a bunch of reasons. Hopefully I’ll get a chance to do that in the future with another piece.
Maybe you did all of this and you messed up your revamp, or you’re just not happy with it like I was. Well, the great thing is that it was just thrift store art and it only cost you a few dollars! So you can try again if you want and it’s not a big deal at all. I actually didn’t even need to buy any supplies for this since I already owned a tin of the white paint and I just used jars and a little paint stirrer to apply my medium. So no harm no fowl, I can revamp another day and so can you!
If you try a update a piece of old art, share your results with us and let us know how it went! We'd love to see other peoples ideas and experiences or failures! Alright, I deserve a drink byyyeeeee.
-skyler


No Comments Yet, Leave Yours!